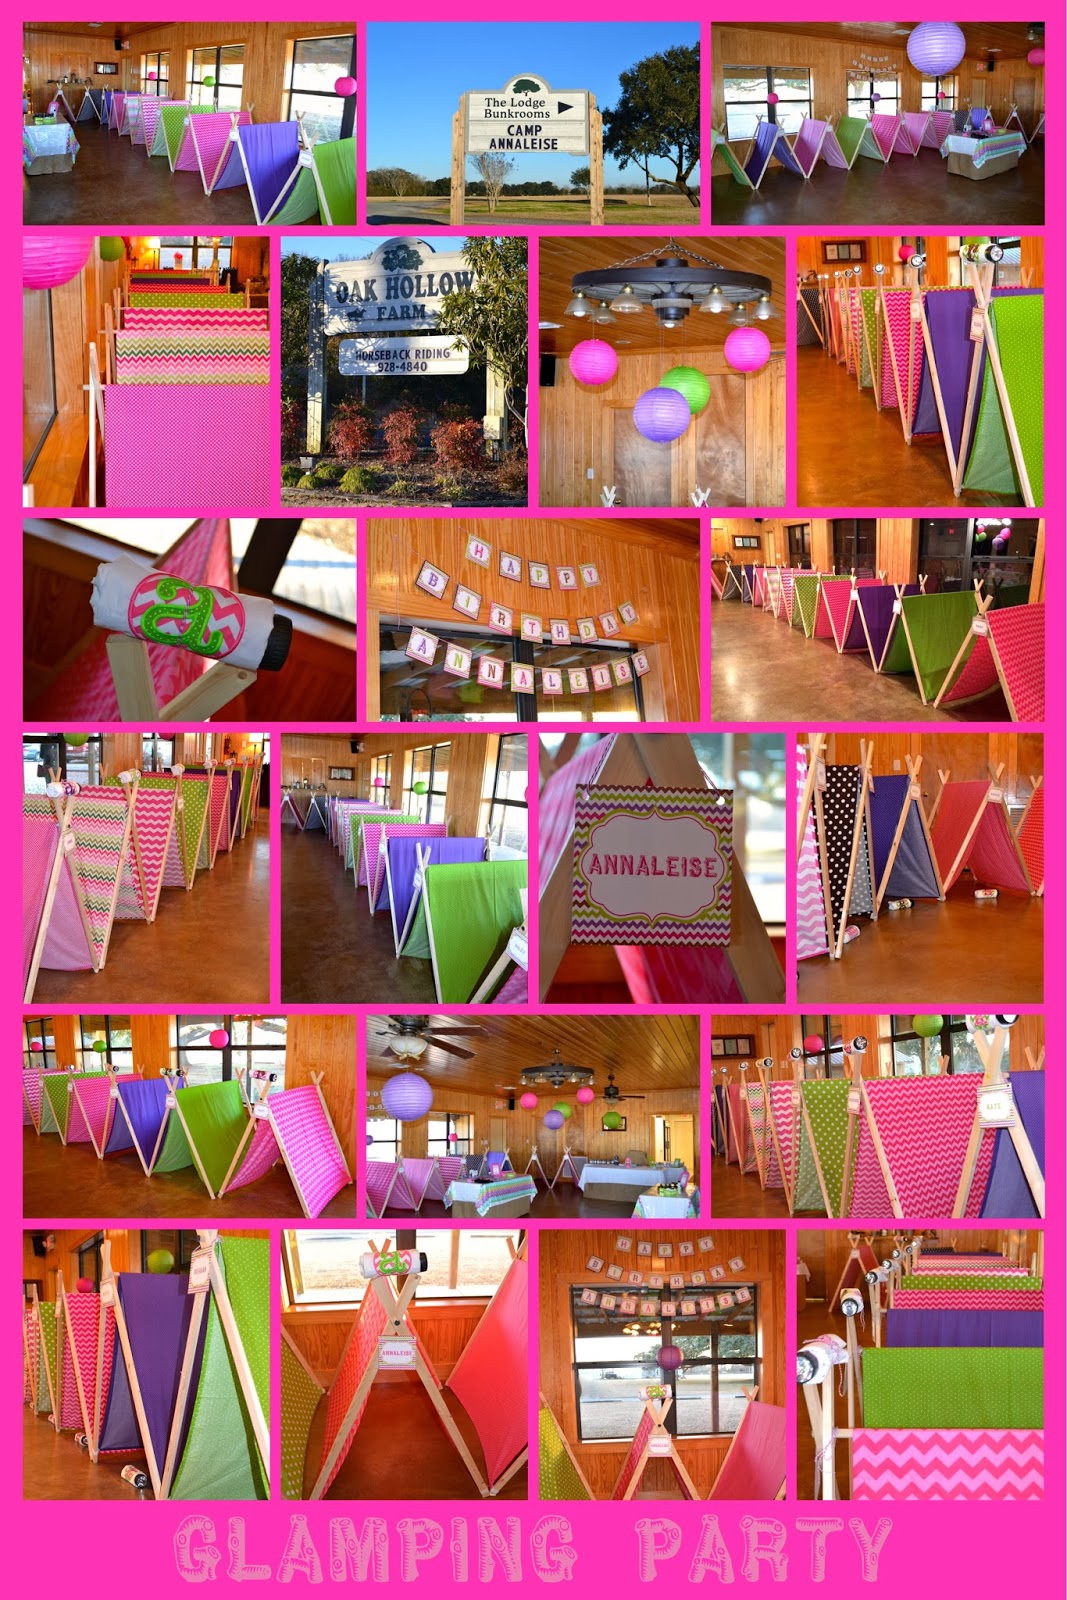
I survived the glamping party!! We had 24 girls at the party (which was much higher than the typical attendance rate!) and they all had a BLAST!!! I will be posting more photos and other details later, but for now, I want to focus on the tents as I promised in my last post. I succeeded in making each girl their own tent! They were able to sleep in them and take them home as part of their favor. Their other favors were trail mix, personalized pillow cases, and flashlights, all of which were huge hits at the party!
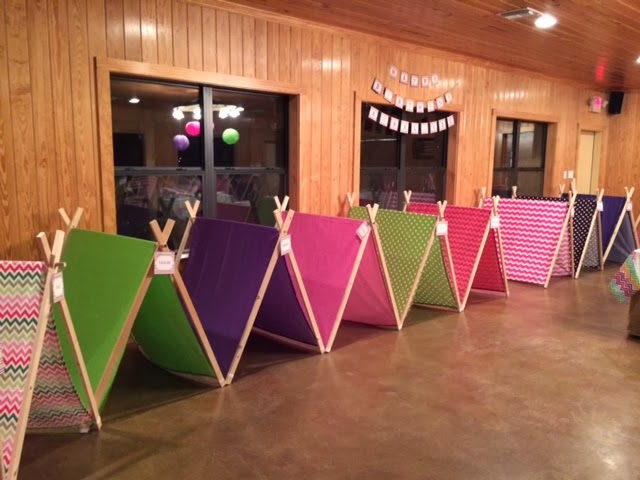
Here is a panoramic shot of the tents before the girls arrived
Now, on to the most important part- how to make these tents!! It really was easy.... Well, as easy as sewing and drilling can be. So, lets get started!!
Here is what you will need for a tent:
(roughly) 2.5 yards of material (44" wide, 85.5" long)
coordinating thread
4- 5" long x 3/4" wide elastic strips
4- 1"x2"x48"whitewood moulding pieces
1- 3/4"x 48" dowel rod
drill with 3/4" spade bit
Household extras: measuring tape, pencil, sewing pins, iron, scissors
Now.... Let's get started!
1. Choose your fabric. Most fabrics come 44" wide. Make sure to measure your length to 85.5 and cut accordingly, as straight as possible.
Here are the fabrics I chose to use to match the invitation and other elements of the party:
2. Once your fabric is at the right length, it is time to pin the edges in preparation of sewing the hem. I am not a sew-er, so I find it much easier to iron the edges before pinning for maximum straightness. A one inch hem on either side is good for these and most times, I would fold half an inch, then fold over again another half an inch to make sure it was straight before I pinned it because the cuts were usually not straight. Here are a few photos of this taking place:
3. Once pinned, you are ready to sew! Now, it is just a basic straight line on the sewing machine. Once all four sides are sewn, attach your elastics to each corner. These will be used to attach to the 1x2s used as the legs of your tent. There is no special method for sewing these other than just going back and forward multiple times to ensure they are attached extremely well.
4. Now that the tent cover is done, time to move on to the frame of the tent. This is very important--- From the top of each of the 4 1x2 whitewood pieces, measure across and mark at 1" and measure and mark 6" down with your pencil. This should give you a center mark 6" down and indicate exactly where you should drill. Now, put on your safety glasses, pick up your drill, and get to work!
5. Once your holes are drilled, place two of the whitewood pieces on top of each other with the holes lined up. Push the dowel through the holes-- Warning-- it will be a tight fit. You may need to use a rubber mallet to help it through. Be very careful if you need to "help" the dowel in and DO NOT use a hammer. Repeat this on the other side. Then spread the tent legs to desired width. Due to our tents being on concrete, we added a screw on both sides at the top, right at the "X" where the "legs" cross to hold it at the desired open width.
5. Now, put your tent cover on and slip the elastic through the legs of your tent and ENJOY!!
XO,
Brittany